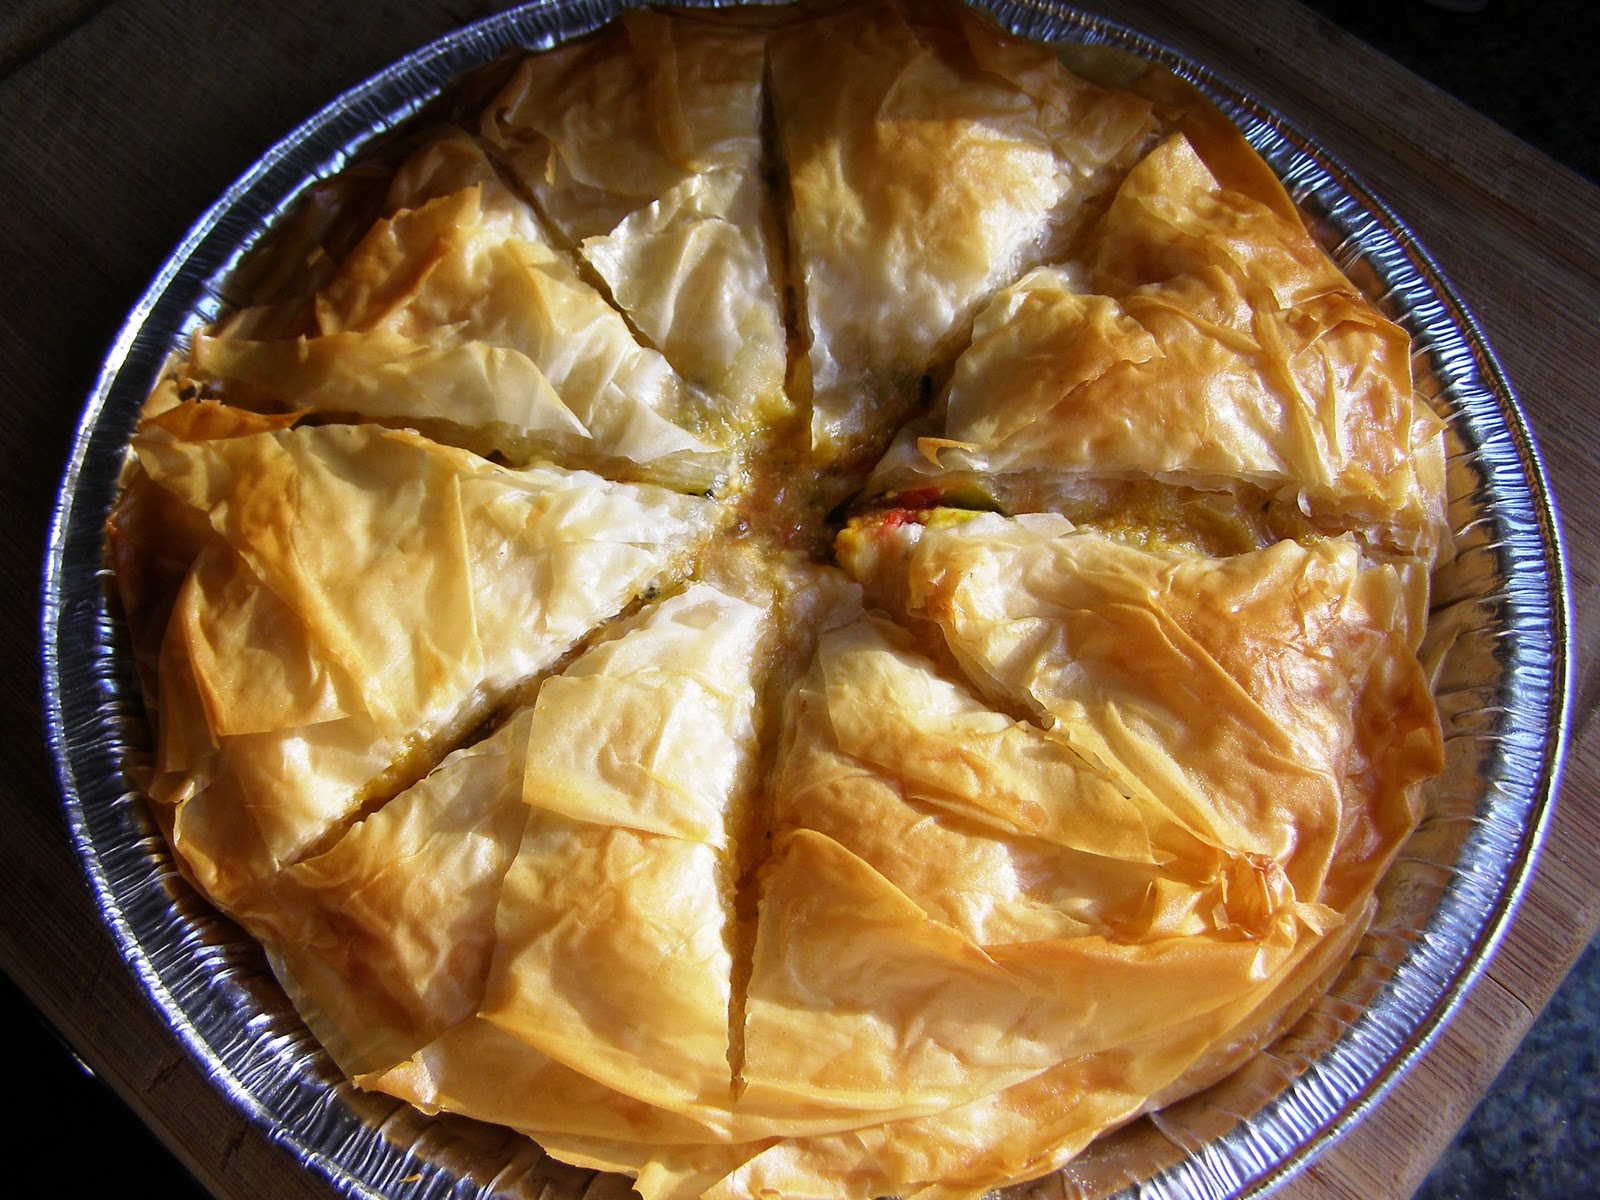
Showing posts with label pie. Show all posts

Friday, March 8, 2013

Strawberry Galette

This week marked a special day of remembrance for me. I won't get into the details, but suffice to say it is a personal holiday of sorts and one in which I fiercely celebrate each year. Some years I volunteer at a local shelter or plant trees as part of some riparian habitat restoration project. Other years I hole up and find solace in baking. As it turned out, this was one of those years.
I adore tarts. Wholeheartedly and with a sprinkle of amazement, I think tarts are the cat's meow (who came up with that expression??). But with this week being insanely hectic, I just didn't have the patience to devote to making one. So instead I opted for a galette, which is somewhere between a flat pie and a tart (depending upon the ingredients). Typically, a galette is made from some sort of short crust pastry or pate brisee, rolled out into a thin sheet with a filling, fruit, or compote added to the center, then the edges are folded over...and voila! Rustic pie!
With the amount of strawberries I had on hand, I went with strawberries as my theme. After making my pastry dough, I tossed the strawberries with almond extract, a tiny bit of sugar, and a little bit of cornstarch to absorb some of the moisture they would put off in the oven. Next I rolled out the pastry dough and spread a light layer of jams (strawberry and peach as they are what I had on hand) over it and continued on as I would with any other galette recipe.
Holy smokes, was this one of the easiest and tastiest desserts I have made in a long while. I bet you have all the necessary ingredients in your kitchen right now. Go, check. I'll be here stuffing my pie hole with this beautiful baby.

Strawberry Galette
Adapted from: Raspberry Tart

  • 1 1/4 cups all purpose flour
  • 1/2 tsp salt
  • 1 tbsp white sugar
  • 1/2 cup unsalted butter, chilled, cut into 1" pieces
  • 1/8 to 1/4 cup ice water
  • 1 3/4 to 2 cups strawberries, sliced 
  • 1 1/2 tsp cornstarch
  • 1 tbsp sugar + a little extra to sprinkle on top 
  • 1 tsp almond extract
  • 1 tbsp peach jam
  • 1 tbsp strawberry jam


In a food processor, place the flour, salt, and sugar and process until combined. Add the butter and process until the mixture resembles coarse meal (about 15 seconds). Pour 1/8 cup (30 ml) water in a slow, steady stream through the feed tube until the pastry just holds together when pinched. Add remaining water, if necessary.  Do not process more than about 30 seconds.

Turn the pastry out onto your work surface, gather it into a ball, cover with plastic wrap, and refrigerate for about one hour to chill the butter and allow the gluten in the flour to relax. 

In a separate bowl, toss the sliced strawberries with the cornstarch, almond extract, and 1 tbsp of sugar until well coated. 

Once the pastry has chilled, remove from the refrigerator and place on a lightly floured surface. Roll the pastry into an 11" round. To prevent the pastry from sticking to the counter and ensure even thickness, keep lifting and turning the pastry a quarter turn as you roll (always roll from the center of the pastry outwards to get uniform thickness). Transfer the pastry to a parchment paper pined baking sheet. 

Preheat the oven to 350 F degrees. 

Next, spread the jams over the pastry leaving an untouched 1.5" border around the edge. Then arrange the strawberry slices in a concentric circle, starting at the edge of the jam and working in towards the center.  It's okay to let it get a little messy, this is a RUSTIC tart. Once you are done with the fruit, gently fold the edges of the pasty up and over the edges of the filing, pleating as necessary, being careful not to squash the strawberries. Sprinkle a little more sugar over the top of everything and put in the oven. 

Bake for 30-40 minutes, checking the pastry every 10 minutes for even baking. Remove when the dough is light golden brown, and place on a wire rack to cool. 


Friday, December 28, 2012

Classic Pumpkin Pie with Bourbon Whipped Cream

In my arsenal of recipes, I have a few favorites when it comes to a basic pumpkin pie. First and foremost, I am a huge fan of growing pumpkins in the garden and using fresh pumpkin puree in any pie recipe. That being said, for some reason I don't always get a good turnout when it comes to growing pumpkins (or I am plain lazy) and resort to the canned stuff. You can definitely taste a difference, though, and of course when you grow your own you know where the stuff is coming from.
Next, I need to confess that I am a lover of simple, basic pumpkin pie recipes. No flashy stuff here (although the streusel topping is yummy). Give me a good, solid pie crust recipe and fill it with a traditional pumpkin pie filling any day. One of the recipes I return to again and again is the Eagle Brand pumpkin pie recipe. Yes, I'm referring to the one on the back of the Eagle Brand Condensed Milk can that most of us grew up with. Now before you start harping on me for not having ingenuity, let me defend myself by saying if it ain't broken, don't fix it. That is a great basic pumpkin pie recipe and given the pie dough used, it can become even better.
For most of the big holiday dinners this year, this is the pie I contributed and always with success. The bourbon whipped cream is what makes this pie shine, although any type of whipped cream or topping will work. I've swapped out the bourbon for rum or even frangelico before and simply loved it. I've tried this pie with store bought, ready to bake pie crust, with homemade ground hazelnut crust, with streusel topping, with chocolate mixed into the recipe. You name it, I've likely doctored up this recipe trying it once upon a time. And the basic core of this pumpkin pie never does me wrong. So I encourage all you budding pie makers to jump into the pool with this recipe and see where it takes you. Happy holidays! Nom nom nom...

Classic Pumpkin Pie Recipe with  Bourbon Whipped Cream
Adapted from: Eagle Brand Pumpkin Pie & Bourbon Maple Whipped Cream

  • 1 (15 oz) can of pumpkin puree
  • 1 (14 oz) can Eagle Brand Sweetened Condensed Milk
  • 2 large eggs
  • 1 teaspoon ground cinnamon
  • 1/2 teaspoon ground ginger
  • 1/2 teaspoon ground nutmeg
  • 1/2 teaspoon ground allspice 
  • 1/2 teaspoon salt
  • 1 (9 inch) unbaked pie crust
Preheat oven to 425 degrees F. Whisk pumpkin, sweetened condensed milk, eggs, spices and salt in medium bowl until smooth. Pour into crust. Bake 15 minutes.

Reduce oven temperature to 350 degrees F and continue baking 35 to 40 minutes or until knife inserted 1 inch from crust comes out clean. Cool. Garnish as desired. Store leftovers covered in refrigerator.

  • Bourbon Whipped Cream
    • 1 1/4 cups heavy cream, very cold
    • 1/2 vanilla bean, split lengthwise, seeds scraped out and reserved
    • 1/2 to 1 teaspoon vanilla extract 
    • 2 tablespoons Grade B maple syrup
    • 1 to 3 tablespoons bourbon
        Combine the cream, vanilla seeds, vanilla extract, maple syrup, and bourbon, to taste, in a large chilled bowl, and whip until soft peaks form. Scoop dollops onto individual pieces of pie. 

        Monday, December 10, 2012

        Boston Cream Pie Cupcakes

        To bake or not to bake? That is the question most of us avid bakers face, especially during the holidays. When it became apparent I would be the lead baker for Thanksgiving dinner, I quickly set about trying to find stellar, deliciously tasting desserts to serve my family. Poking around the intronets I discovered a lovely blog called A Bit of Bees Knees and an awesome recipe for morphing boston cream pie into cupcakes. Who doesn't love cupcakes AND boston cream pie?!
        Along with a basic pumpkin pie, I decided to go the boston cream pie cupcake route for our Thanksgiving Day dessert spread and am definitely happy I did. These cupcakes were amazing! Everyone who sampled one wanted more. The filling made these cupcakes extra special and the flavor was spot on.
        My only change included using instant vanilla pudding as opposed to cook and serve, which didn't appear to make any big difference. Using this recipe and the vanilla pudding box instructions for pie filling as guides, I was easily able to assemble the pie portion of these cupcakes (and shovel a little pudding into my mouth in the process). If you are questioning what to make to accompany your next holiday dinner, try these babies out. Buon cibo! Buone Feste!

        Boston Cream Pie Cupcakes
        Borrowed from: A Bit of Bees Knees

        Cupcakes

      • 2 1/2 cups all-purpose flour
      • 3/4 tsp baking soda
      • 1/2 tsp each baking powder and salt
      • 3/4 cup (1 1/2 sticks) unsalted butter, softened
      • 1 1/4 cups sugar
      • 3 large eggs
      • 2 tsp vanilla extract
      • 1 cup buttermilk

      • Filling

      • 1 package (3 oz) isntant vanilla pudding
      • 1 1/4 cups milk
      • 1/2 tsp vanilla extract

      • Chocolate Glaze

      • 8 oz semisweet chocolate, chopped
      • 1/3 cup each sugar and water
      • 3 Tbsp unsalted butter, softened


      • Heat oven to 350ºF. Line 18 muffin cups with paper liners.

        In a bowl, whisk flour, baking soda, baking powder and salt until blended.

        Beat butter and sugar in a large bowl with electric mixer until light and fluffy, about 2 minutes. Add eggs, one at a time, until well blended. Beat in vanilla extract.

        With mixer on low speed, alternately beat in flour mixture and buttermilk, beginning and ending with flour mixture, until just blended.

        Spoon about 1/4 cup batter into each muffin cup. Bake 18 to 20 minutes until wooden pick inserted in center comes out clean. Cool 5 minutes; remove from pan to wire rack to cool completely.

        Prepare pudding as package directs, using 1 1/4 cups milk and the pie instructions on the box for guidance; cover surface directly with plastic wrap and refrigerate until cold.

        Place chocolate, sugar and water in a small saucepan over low heat. Cook, stirring, until melted and smooth, about 3 minutes. Remove from heat; stir in butter until it melts and mixture is smooth. Let cool.

        Slice off top of cupcakes to come to top of paper liners. Spread cut surface with about 1 Tbsp filling. Top with cupcake top. Spoon about 1 Tbsp glaze onto top center of each, easing it over top. Set in the fridge for half an hour to let the chocolate set up. 

        Thursday, November 17, 2011

        Mediterranean Vegetable Pie


        There is talk of snow for the coming weekend. I don't know about you, but I am certainly not ready for snow. The lazy, golden days of summer are still a recent memory for me and I want to revel in them for as long as possible. My first 10k race of the cooler season is this Saturday, with a forecast for freezing rain. Oh Northwest, how you tease and torment me. 


        To keep warm and happy during these gray days, I am trying to eat as many vegetables as possible. Hearty dishes filled with tasty ingredients and love. This included my version of a Perry's Plate recipe, the Mediterranean Vegetable Pie.


        Not being a fan of eggplant, I opted out of that ingredient from the start. I also modified the recipe by using fewer tomatoes, as well as both red and green ones. The farmer's market had fabulous yellow beets the weekend I made this dish, hence how they found their way into the pie. This is definitely a comfort food kind of recipe, perfect for a cold day. Enjoy and stay warm! 

        Mediterranean Vegetable Pie
        Adapted from: Mediterranean Roasted Vegetable Pie 

        • 2-3 small to medium green tomatoes, halved and cored
        • 1 large red tomato, halved and cored
        • 2 yellow beets, diced 
        • 1 medium-sized zucchini, cut into 1/3-inch dice
        • 1 medium-size onion, halved and thinly sliced
        • 1/4 cup + 1 T olive oil 
        • Salt and freshly-ground black pepper
        • 3 garlic cloves, minced
        • 1 T each, chopped fresh parsley, basil, and oregano leaves
        • 4 ounces feta cheese, crumbled (about 1 cup)
        • 1 T rice wine vinegar
        • 4 T butter, melted
        • 8 sheets of phyllo dough (about 14x18 inches each), defrosted if frozen
        • Salt and pepper to taste 
        Preheat the oven to 400 degrees F. Lightly oil a 9x13 baking dish and a large rimmed baking sheet or shallow roasting pan.

        Arrange tomatoes, cut-side down, in a single layer in the baking dish. Roast for about 30 minutes, until tomatoes are tender and begin to turn brown in spots.

        Meanwhile, toss the beets, zucchini, and onion in a large bowl with 1/4 cup of the heat-safe oil. Season lightly with salt and pepper. Arrange in a shallow layer in the other prepared pan. (No need to wash the bowl. You'll use it again later.)

        Place the roasting pan in the oven with the tomatoes. Roast for about 30 minutes until vegetables are tender and beginning to turn brown, stirring every 10 minutes or so. If both pans don't fit in the oven together, place the tomatoes on the middle rack and the vegetables on the bottom rack. Rotate them a couple of times for even roasting. When you remove all of the vegetables from the oven, reduce the temperature to 375 degrees F.

        When the tomatoes are cool enough to handle, pull the skins off. This should be easy, but don't worry about stubborn parts that stick. Combine the peeled tomatoes and roasted vegetables in the large bowl you used earlier. Add the garlic and fresh herbs. Toss to mix well, then gently mix in the cheese. Season lightly withe salt and pepper (to taste), adding the vinegar, if needed, to balance the sweetness of the tomatoes. DO AHEAD: You can make the filling up to two days ahead. Just cover and chill until it's needed.

        Combine butter and remaining 1 T of oil. Brush some of the butter on the bottom of a deep 9 or 10 inch pie plate. Center 1 sheet of phyllo in the pie plate, allowing the edges to hang over. Brush the phyllo with a bit of butter. Top with 4 more sheets of phyllo, brushing each with butter before adding the next. (Arrange the sheets so there is excess hanging all around the pie plate instead of in just two places.) Spoon the vegetable and cheese mixture into the pie plate. Fold the edges over, brushing them with a little butter. Layer the remaining 3 sheets of phyllo over the top, brushing each layer with butter and either tucking the edges in the side of the plate or folding them toward the middle.

        With a sharp, serrated knife, cut the pie into wedges through the top sheets only. Don't cut all the way through the bottom layer. Bake for 30 minutes, until crust is golden brown. (Maybe a few minutes longer if the filling has been refrigerated.)

        Let the pie rest for 5-10 minutes before slicing and serving.

        Thursday, October 6, 2011

        Creamy Pear Pie


        Pears. One of the quintessential late summer, early fall fruits. When the pears start dropping, you know harvest is upon us.


        Did you know that China, the US, and Italy produce the most pears of any nations in the world? In the US we tend to eat them raw, however elsewhere folks have come up with some tasty alternatives. For instance, a traditional plate of poached or baked pears. Or maybe a dish of crostini with feta and pear-strawberry salsa. Or even some chickpea curry with pears. Seriously, you can't go wrong with pears!


        With all of this in mind, I proposed a challenge for myself of late - to make a pear pie that departed from the norm. Sleeves rolled up, goal in mind, I researched a number of pear pies until I settled upon this one as my starting point.


        The big changes included using my favorite pre-made vegan pie crust in place of something homemade (pandas have so little time these days), swapping out the sour cream for vanilla non-fat yogurt, adding almond extract, and beefing up the flavor of the topping by adding a combo of cinnamon, nutmeg, and ginger. 


        How many pieces of this beautiful pie do you think I consumed? If you aren't to at least five in your guess, keep trying. Five slices is when I stopped counting. Keeping my hands off of this delicious foodgasm was impossible! In the end I finally started handing out slices to anyone who would take them, just so that I wouldn't finish the pie in one sitting. I call it a pie crush, and this is my current one! Enjoy!


        Creamy Pear Pie
        Adapted From: Pear Sour Cream Pie 

        Pie

        • 1 (9 inch) pie crust pastry
        • 1/2 cup white sugar
        • 1 cup vanilla non-fat yogurt
        • 1/4 cup all-purpose flour
        • 1 egg, beaten
        • 1 tsp vanilla extract
        • 1/4 tsp salt
        • 4 large pears - peeled, cored and sliced
        Topping
        • 2/3 cup all-purpose flour
        • 1/3 cup white sugar
        • 5 tbsp butter, melted
        • 2/3 cup rolled oats
        • 1 tsp. cinnamon
        • 1/2 tsp nutmeg
        • 1/2 tsp ginger 

        Preheat an oven to 350 degrees F (175 degrees C). Take pre-made pastry out of the freezer. 

        Combine 1/2 cup sugar, sour cream, 1/4 cup flour, egg, vanilla, and salt in a bowl until blended. Fold in the pears. Pour the mixture into the pie plate and bake the pie for 15 minutes.

        While the pie is baking, prepare the topping: mix the 2/3 cup flour, 1/3 cup sugar, spices, melted butter, and rolled oats together in a bowl.

        Remove the pie from the oven and sprinkle with the crumble topping. Return the pie to the oven and bake until the filling is set and the crust is brown, about 20 minutes more. Allow to cool and set before serving.

                                      Sunday, February 6, 2011

                                      Banana Pudding Pie


                                      This is a banana pudding pie. Make sure you have friends around to help you consume it, or you just might eat the entire thing by yourself. Believe me, I nearly did. Even with friends around. 


                                      I should have snapped a few more shots of this pie, but honestly the second I tasted it I wanted more. Screw pictures. Pie in mouth, please.


                                      After doing some online research, I came across this recipe from Lick The Bowl Good. Sadly, I didn't have a pie pan handy when making the crust and opted for a round cake pan. Hence I lost a few points on presentation as the slices didn't come out all pretty for picture taking. However, the taste more than made up for it. I didn't change much with the recipe from it's original state, and am glad I didn't as this pie is perfect just the way it is. Enjoy!

                                      Banana Pudding Pie
                                      Adapted from: Lick The Bowl Good

                                      To Assemble the Pie: 
                                      • Vanilla Wafer Crust (recipe below)
                                      • Vanilla Pudding (recipe below)
                                      • Whipped Cream (recipe below)
                                      • 3-4 medium bananas, cut into slices
                                      • 30 vanilla wafers plus more for decoration
                                      Vanilla Wafer Crust:
                                      • 2 1/2 cups (about 30) crushed vanilla wafers
                                      • 1/2 cup butter, melted
                                      Vanilla Pudding:
                                      • 3/4 cup white sugar
                                      • 1/3 cup all-purpose white flour
                                      • 2 large eggs
                                      • 4 egg yolks
                                      • 2 cups almond milk
                                      • 2 teaspoons vanilla extract
                                      Whipped Cream:
                                      • 1 cup heavy cream
                                      • 1/4 cup powdered sugar
                                      • 1/2 tsp. vanilla

                                      For the crust:
                                      In a medium bowl, stir together crushed vanilla wafers and butter until blended. Firmly press on bottom and up the sides of a 9-inch pie plate.
                                      Bake at 350° for 10 to 12 minutes or until lightly browned. Remove to a wire rack, and let cool 30 minutes or until completely cool.

                                      For the pudding: Whisk together sugar, flour, eggs, yolks and milk in a heavy saucepan. Cook over medium-low heat, whisking constantly, 10-12 minutes or until it reaches the thickness of chilled pudding. (Mixture will just begin to bubble and will be thick enough to hold soft peaks when whisk is lifted. It must be thick and slightly bubbly to set up properly!) Remove from heat, and stir in vanilla.

                                      Transfer to a medium bowl and cover with plastic wrap, making sure to press the plastic directly on top of the custard so it doesn't get a "skin" on it. Refrigerate til completely cool. (Can be made up to a day in advance.)

                                      Whipped Cream: In a medium bowl, whip cream on medium high speed til soft peaks form. Slowly add the sugar and vanilla and continue to beat til thick and stiff. Don't overbeat or you'll have butter (no good).

                                      Assembly: Arrange half of the banana slices evenly over bottom of cooled crust. Spread 1/3 of cooled pudding over bananas, then layer with 20 vanilla wafers. Spread 1/3 more pudding over vanilla wafers, then add the remainder of the banana slices and cover them with the last of the pudding. Spread the whipped cream over the entire pie and decorate with more vanilla wafers if desired.

                                      The layers from the bottom up should be: vanilla wafer crust, bananas, pudding, vanilla wafers, pudding, bananas, pudding, whipped cream

                                      Refrigerate at least for 4 hours. Overnight is best. Consume within 2 days.

                                      Foodie Fest - Pie & Bread Edition


                                      This past Saturday, I had the joy and pleasure to share food, drink, and warmth with a handful of foodie friends. What a lovely day! If I could do this more often (especially getting paid to do it), I would be the baking hostess of renowned success. :)


                                      On the menu this Foodie Fest - pie and bread. Specifically crafted for a pair of friends, the general gist of the event included showing up ready to assemble/bake/eat a favorite bread or pie (dough) recipe. And of course, enjoy a mimosa or two.


                                      We also sampled a flyer of IPA beer, which was most fun discussing and arguing the subtle taste differences between each label. 


                                      One friend brought seed bread (oh so delicious). Two loaves, which we pretty much decimated.


                                      Another made empanadas + potatoes = empotatoes! With gruyère cheese...needless to say I sampled MANY of these little babies.


                                      A local bread baker pal made his first attempt at rye bread with pink himalayan salt dusted on top. Wow, like a little bite of heaven in my mouth.


                                      As for me, I might have made a contribution or two...first up were the pesto pinwheels. These were a cross between my garlic cheese pinwheel rolls and garlic knots made last year. Needless to say they were instantly gone.


                                      My other contribution - banana pudding pie. There is barely a sliver remaining the morning after. Obviously a sign of a smashing hit with the foodies. Click here if you would like the recipe. Easy as pie to make (ha, couldn't help myself) and well worth the wait!

                                      Am currently taking ideas for the next round of Foodie Fest. Feel free to leave me a comment or two with your suggestions. Happy baking!

                                      Monday, January 11, 2010

                                      Dark Chocolate Cream Pie


                                      Notice my absence? Yes, even a chef needs a little holdiay! And merriment...but don't worry, I am back. I promise! With more fabulous eats and yummies for the new year. 2010 - the year of making some killer grub!

                                      Christmas dinner was a (surprisingly) big event in my little home. We did a local, healthy, organic turkey with all the fixings, sides upon sides of good food, and of course... dessert! One of my desserts this year was a smoky dark chocolate cream pie.


                                      I started from the good old Taste of Home Dark Chocolate Cream Pie recipe and made a few modifications. A little fussing usually makes the recipe really taste like it came out of your kitchen! 


                                      One of the first things I did was add a wee bit more dark chocolate - and GOOD chocolate. I made sure to run by our local market  and find a good giant piece of lovely organic dark chocolate from the bulk section. Next I added a another 1/2 teas. of vanilla as well as a little bitty dash of almond extract. I melted the chocolate until it was nearly smoking to give it a smoky flavor (not recommended for everyone) and finished off my modifications by adding a good dash of cayenne pepper to give a full aroma to the chocolate and some spice!

                                      OMG, it was amazing. The pie that is... as well as the mimosas I was part taking in during the baking experience.


                                      And a little shout out to my grandparents' and mother's home town - Tinely Park, IL.