Tuesday, August 30, 2011

Chocolate Banana Zucchini Chocolate Chip Muffins


Bananas! Zucchini! Chocolate! Oh my, did this recipe turn out well. For some unknown reason, this summer I  often find myself with an abundance of these three ingredients (yes, even chocolate) and a hankering to bake. Not too long ago I whipped up a batch of these little tasty muffins for a few pals. And boy were they a hit!


Omitting the oil and using applesauce instead made the muffins a bit less fat heavy, but not too worry...I ate enough of them to make up for it in the end.


Lately, I've been thinking of taking a survey to see what fall goodies folks would like me to make heading into the next season. There have been more than a few requests for another Foodie Fest (which we are long overdue for) and I'm thinking of doing a sweet 'n savory pie foodie fest sometime in October. Thoughts, anyone? And enjoy the recipe!

Chocolate Banana Zucchini Chocolate Chip Muffins 

  • 1 large ripe banana, mashed
  • 1 1/2 c zucchini, shredded
  • 1 3/4 c flour
  • 1 tbsp unsweetened cocoa
  • 3/4 c sugar 
  • 1 egg
  • 1/4 c applesauce 
  • 1 tsp baking powder
  • 1 1/2 tsp baking soda
  • 1/4 tsp cinnamon 
  • 1/2 tsp salt
  • 1/4 tsp almond extract 
  • 1/2 tsp vanilla
  • 1/4 cup chocolate chips

Preheat the oven to 350F. Grease a muffin pan or line with paper cups.

In a medium bowl, mix together flour, cocoa, baking powder, baking soda, cinnamon, and salt.

In another medium bowl, mix together egg and sugar. Next add applesauce, vanilla and almond extracts, and mix well. Add in mashed banana and shredded zucchini. Then mix the dry ingredients into the wet until well incorporated. Finally, add the chocolate chips.

Bake for 11-15 minutes, depending upon muffin size. Remove from the oven and let cool on a wire rack or the counter.

Wednesday, August 24, 2011

Mediterranean Quinoa Pasta Salad


Quinoa. Now there is a spiffy plant. It's my understanding that quinoa happens to be one of the few plants found in nature that is a complete protein (for human consumption purposes), or something to that effect.


Whenever possible, I try to sneak quinoa into my food pyramid. This could mean quinoa flakes for cereal, quinoa as a rice substitute, or as in this case, using quinoa pasta. I haven't found a quinoa pasta that I am head over heals for, but I continue to search. My issue is that most quinoa pastas tend to be one of two things - very dry upon reheating or the pasta takes on a strange second day consistency. That being said, I am obviously still a big supporter of quinoa in all forms! Look in the bulk section of your local store or near the pastas.


A few Fridays ago, my lovely housemate and I were holding one of our weekly bbqs in the backyard when I had a hankering for a pasta salad. After some digging around in the cabinets and fridge, this recipe was born! It pairs well with a crisp summer white wine and should be devoured with friends. Enjoy!

Mediterranean Quinoa Pasta Salad

  • 1/2 c cucumber, diced 
  • 1/4 c tomatoes (fresh or canned)
  • 1/4 c feta cheese
  • 2 1/2 c quinoa pasta, cooked and cooled 
  • 1 small can diced black olives
  • 1/4 c olive oil
  • 1/4 c sweet onion, diced 
  • 2 tbsp leek soup mix
  • 1 clove elephant garlic 
  • 1/4 tsp dried basil
  • 1/4 tsp dried thyme
  • 1/4 tsp dried oregano
  • 1/4 c parmesan cheese
  • 1/2 tbsp white wine vinegar 
  • salt and pepper 

Mix everything together in a large bowl. If preferred, mix the olive oil, leek soup mix, garlic, dried herbs, and white wine vinegar together first, then add the remaining ingredients. Salt and pepper to taste. Serve immediately or refrigerate the unused portion.

Tuesday, August 16, 2011

Harvest & Rehoming


This is what a fairly typical daily harvest looks like in our backyard. Not too shabby, right? We usually get between 3 and 6 eggs, up to a pint of strawberries, maybe some green beans or garlic, a few tomatoes, and most recently a few beautiful sunflowers.


Yes, I am still gushing over my sunflowers.


Our tomatoes are a tad green still, but a few of the Ukrainian variety are turning a deep shade of purple. Homemade salsa on the menu soon!


In other news, it was recently decided that Tubbers, the newest edition to our urban farm, wasn't enjoying himself here. The fit wasn't quite comfortable for everyone involved and Tubbers was rehomed this past week, now happily spending his days in Eastern Oregon. He's a well traveled kitty. Viva la Porkchop!

Tuesday, August 9, 2011

Banana Guacamole


Recently, I found myself standing in my kitchen holding a handful of very ripe bananas without a vision in mind as to how to wisely use them. What was a foodie chef to do?? Why get creative, of course! And thus Banana Guacamole was born last week.


Now before you wave around your wand of judgement here, follow my mother's very good advice and try everything once before you say you don't like it. This dip is unbelievably good, especially in the heat of summer! I can easily imagine it on top of a delicious piece of grilled fish (yes, I've been falling off my vegetarian bandwagon of late) or tropical tofu. If you are a spicy lover like myself, adding a hot pepper to it like a jalapeƱo would likely come out scrumptious! 


If anyone is curious as to what my creative process looks like when making new recipes, this is about as dazzling as it gets with my note taking. When drinking is involved, it becomes much harder to read my handwriting the next day (but I leave funnier notes for myself).


Another variation I would love to try one day is to add mango or even papaya to the mix. Mmmm, I'm craving a fruity drink with an umbrella and a pile of tortilla chips to go with this dip. Have fun, play around with the recipe until you find the version you like, and as always - enjoy!


Banana Guacamole

  • 1 very ripe large banana
  • 1 ripe large avocado 
  • 2 tbsp sweet onion, diced 
  • 1 tbsp elephant garlic, diced 
  • 2 tbsp anaheim pepper, diced
  • 1/4 tomato, diced and seeded (saved for the dip)
  • 1 tsp lime juice
  • 1 tsp lemon juice
  • 1-2 tsp hot pepper oil (like sesame) 
  • salt and pepper to taste 
  • red pepper flakes to taste 

Mix the first two ingredients together until well mashed and incorporated. Using the back of a spoon or a fork works just as well as a potato masher. Next mix in the remainder of the ingredients, and tweak as desired for personal taste. Let chill for at least 15-20 minutes before serving. Double the recipe to make a four-person serving.

Monday, August 8, 2011

Lazy Garden Days


Finally, we have produce! With the strange Oregon summer this year, it was nearly the end of July before our garden started popping off. Thankfully, the sunshine finally arrived and the rains are staying away (most of the time) which has left the garden with lots of warmth and room to do some growing. Above is a shot of one of the five varieties of tomatoes we have growing this year, a few are Oregon heirloom varieties.


One of my favorite plants this year - my sunflowers! The fastest way to win my favor (besides baked goods) is by gifting me flowers.


I have no idea how I ended up so lucky as my neighbors on both sides of me have had a terrible time with sunflower gardens this year, yet here they are! Gorgeous, soft yellow sunflowers. I swoon every time I walk by them.


As most of you may have guessed, our garden is strictly organic. No pesticides allowed in here, baby. I have a few homemade recipes in my arsenal to keep pests at bay, but for the most part I try to do companion planting. The blue cabbage head above is a good example of my gardening mantra - the pests can have their small share as long as I get the heart of the plant.


While our cucumbers aren't the happiest of the garden lot, the squash and zucchini are doing fabulously. We already have a few sugar pumpkins, black beauty zucchini, acorn squash, and are waiting on a Japanese hard squash to fruit any day now.


And of course, the feathered ladies are enjoying the extra sunshine! Nosy and inquisitive as ever. The pullets are just about to start laying soon...


Finally, for those of you who haven't met him yet...Tubbers the special needs kitty. I say special needs because the cat has a serious issue with abandonment, as well as with overeating. We are still trying hard to integrate him into our little urban farm, however if he keeps up his late night meowing when he is lonely he may soon find himself sleeping with the chickens!

Wednesday, July 27, 2011

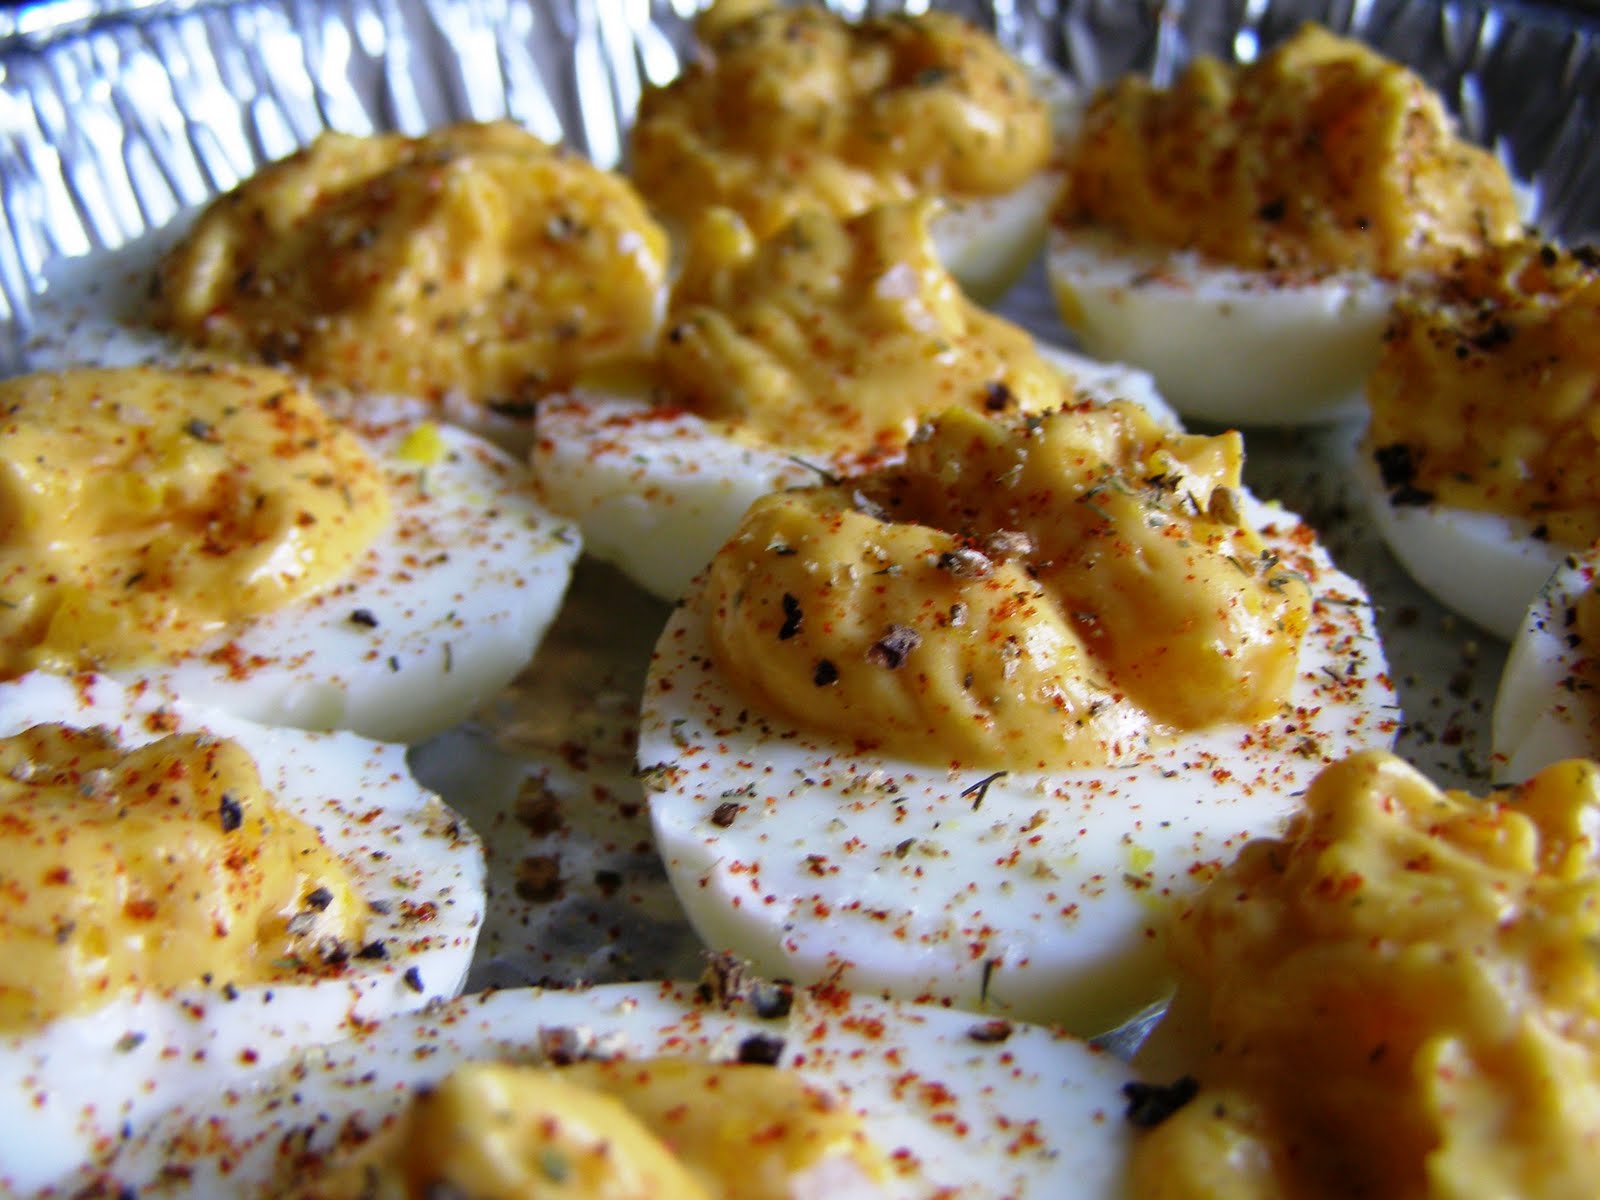
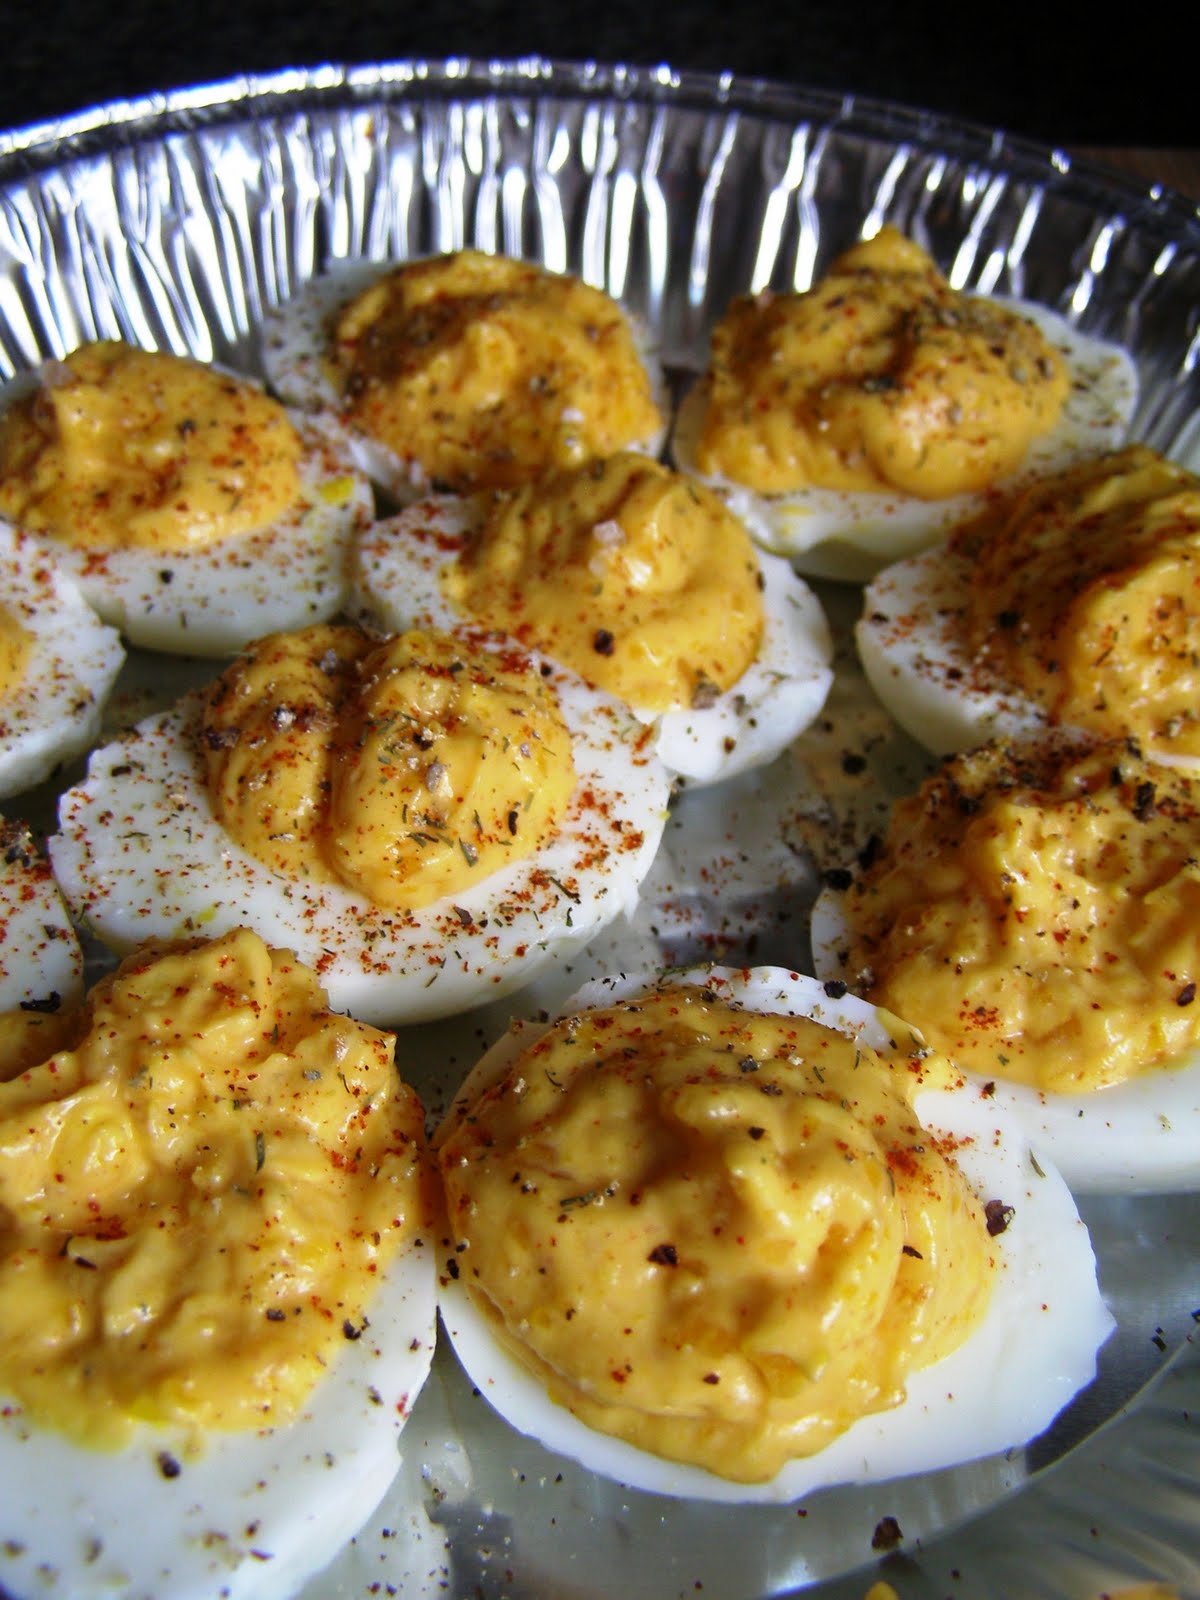
Sriracha Deviled Eggs


Finally, summer arrived in Oregon! Well, it did last weekend at least. I spent the weekend with pals bumming around a swim hole, celebrating a close friend's 30th birthday. Beautiful, right? I hope to have many more days like this in the near future.


Back to cooking...the other day I found myself with an abundance of eggs in the house. What does that mean? Why, deviled eggs of course! And not just any deviled eggs, Sriracha Deviled Eggs!


I know there are a few dozen different versions of deviled eggs out there, but this one is the one! Slight sweet, yet spicy. Delicious and filling. Trust me, you will want to make this recipe soon. It's a perfect addition to any BBQ or cookout.


I adapted this recipe from Cook The Book, removing the chives and lime and adding a lot more flavor (at least in my opinion). Don't fret if you are unsure how to hard boil eggs. A post will follow in the coming days with tips on how to make it through a hard boil without losing most of your egg. Now go out and enjoy some summer!

Sriracha Deviled Eggs
Adapted from: Cook The Book 

  • 6 hard boiled eggs
  • 1/3 c mayo
  • 4-6 tbsp sriracha
  • 1/2 tsp horseradish 
  • 3/4 tsp dijon mustard 
  • 1 tsp sweet mustard
  • 1 tsp white wine mustard
  • 1/2 tsp spicy brown mustard 
  • 1/2 tsp sea salt
  • 1/2 tsp ground black pepper
  • 1/2 tsp dill
  • 1/2 tsp smoked paprika

In a medium bowl, mix together the mayo, mustards, and horseradish. Refrigerate promptly. Split the eggs in half lengthwise. Remove the egg yolks. Using a fork, break up the yolks in a mixing bowl. Stir in the Sriracha Mayo, salt, pepper, dill and smoked paprika. Blend well. Fill a pastry bag fitted with a star tip or use a ziplock bag with one corner snipped off and pipe the yolk mixture back into the egg whites. Top with a pinch more of smoked paprika, dill, salt and pepper. Serve or cover and refrigerate immediately.

Monday, July 18, 2011

Oatmeal Chocolate Chip Cookies


One can never have too many chocolate chip cookie recipes, at least not in my book. And this is definitely a good one to add to your collection! This recipe is a good mix of chewy yet chocolaty, delicious yet satisfying. Isn't that apparent by the happiness seen on my face as I shove this cookie in my mouth? Yes, I am a total ham if it means getting a few laughs.


This recipe was discovered over at Bake or Break and is a goody to keep in the recipe box. My changes included adding almond extract, using my farm fresh eggs, trading out the chocolate bar for actual chocolate chips, and omitting the nuts this time around. The trick to the amazing chewiness? Blending the oats in a food processor first! Seriously, try it. The results are both surprising and tasty. Enjoy!

Oatmeal Chocolate Chip Cookies
Adapted From: Bake or Break 

  • 1 cup butter, softened
  • 1 cup granulated sugar
  • 1 cup firmly packed light brown sugar
  • 2 large eggs
  • 1 tsp vanilla extract
  • 1/2 tsp almond extract 
  • 2 cups all-purpose flour
  • 1 tsp baking powder
  • 1 tsp baking soda
  • 1/2 teaspoon salt
  • 2 1/2 cups uncooked regular oats
  • 1 1/2 cups semisweet chocolate chips
  • 1 cup chocolate chips 

Preheat oven to 375°.
Beat butter at medium speed in a heavy-duty mixer until creamy. This can take up to 3 or 4 minutes. Make sure to scrape down the edges of the bowl in between. Gradually add sugars and beat well. Add eggs, vanilla and almond extracts, beating well.
In a separate bowl, combine flour, baking powder, bakings soda, and salt. Gradually add to butter mixture and beat well.
Process oats in a food processor until finely ground. Add to butter mixture and beat well. Stir in chocolates.
Drop cookies by tablespoonfuls onto ungreased baking sheets, lined with parchment paper. Bake for 8-10 minutes or until lightly browned. Cool slightly on baking sheets. Then, remove to wire racks to cool completely.