Showing posts with label hearty. Show all posts

Thursday, November 17, 2011

Mediterranean Vegetable Pie


There is talk of snow for the coming weekend. I don't know about you, but I am certainly not ready for snow. The lazy, golden days of summer are still a recent memory for me and I want to revel in them for as long as possible. My first 10k race of the cooler season is this Saturday, with a forecast for freezing rain. Oh Northwest, how you tease and torment me. 


To keep warm and happy during these gray days, I am trying to eat as many vegetables as possible. Hearty dishes filled with tasty ingredients and love. This included my version of a Perry's Plate recipe, the Mediterranean Vegetable Pie.


Not being a fan of eggplant, I opted out of that ingredient from the start. I also modified the recipe by using fewer tomatoes, as well as both red and green ones. The farmer's market had fabulous yellow beets the weekend I made this dish, hence how they found their way into the pie. This is definitely a comfort food kind of recipe, perfect for a cold day. Enjoy and stay warm! 

Mediterranean Vegetable Pie
Adapted from: Mediterranean Roasted Vegetable Pie 

  • 2-3 small to medium green tomatoes, halved and cored
  • 1 large red tomato, halved and cored
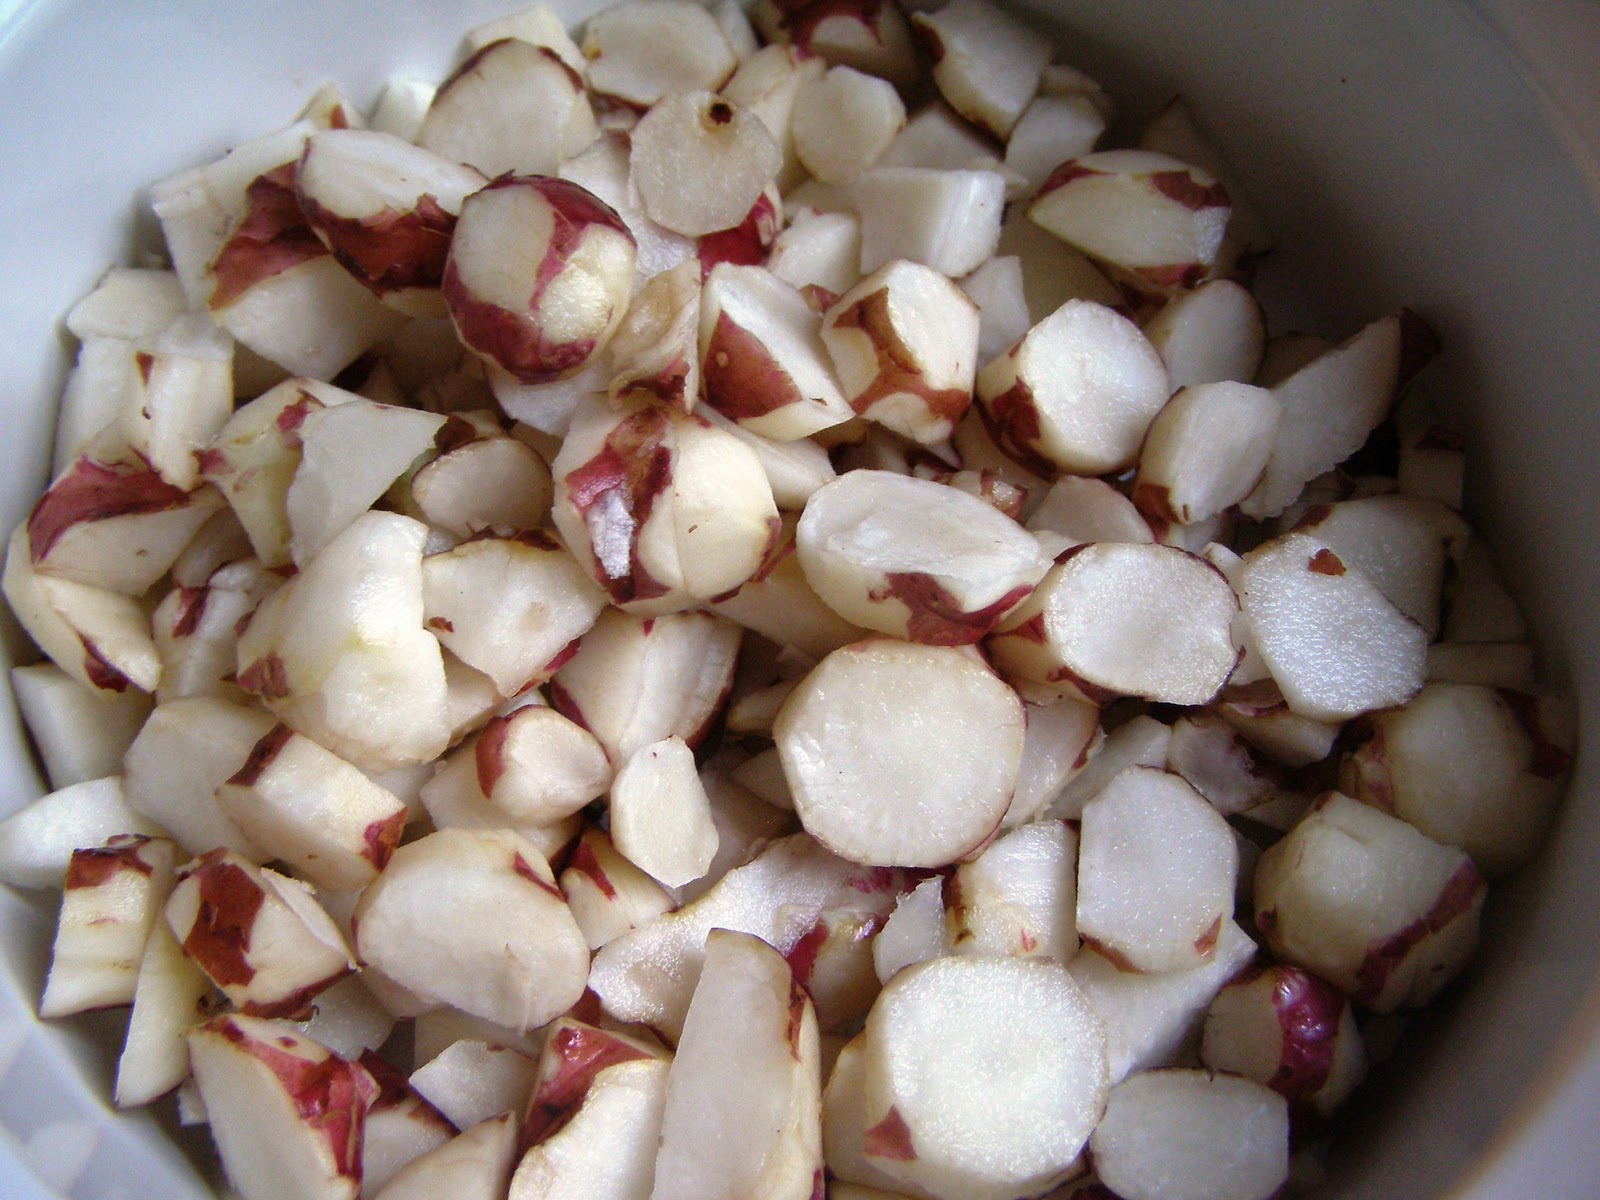
  • 2 yellow beets, diced 
  • 1 medium-sized zucchini, cut into 1/3-inch dice
  • 1 medium-size onion, halved and thinly sliced
  • 1/4 cup + 1 T olive oil 
  • Salt and freshly-ground black pepper
  • 3 garlic cloves, minced
  • 1 T each, chopped fresh parsley, basil, and oregano leaves
  • 4 ounces feta cheese, crumbled (about 1 cup)
  • 1 T rice wine vinegar
  • 4 T butter, melted
  • 8 sheets of phyllo dough (about 14x18 inches each), defrosted if frozen
  • Salt and pepper to taste 
Preheat the oven to 400 degrees F. Lightly oil a 9x13 baking dish and a large rimmed baking sheet or shallow roasting pan.

Arrange tomatoes, cut-side down, in a single layer in the baking dish. Roast for about 30 minutes, until tomatoes are tender and begin to turn brown in spots.

Meanwhile, toss the beets, zucchini, and onion in a large bowl with 1/4 cup of the heat-safe oil. Season lightly with salt and pepper. Arrange in a shallow layer in the other prepared pan. (No need to wash the bowl. You'll use it again later.)

Place the roasting pan in the oven with the tomatoes. Roast for about 30 minutes until vegetables are tender and beginning to turn brown, stirring every 10 minutes or so. If both pans don't fit in the oven together, place the tomatoes on the middle rack and the vegetables on the bottom rack. Rotate them a couple of times for even roasting. When you remove all of the vegetables from the oven, reduce the temperature to 375 degrees F.

When the tomatoes are cool enough to handle, pull the skins off. This should be easy, but don't worry about stubborn parts that stick. Combine the peeled tomatoes and roasted vegetables in the large bowl you used earlier. Add the garlic and fresh herbs. Toss to mix well, then gently mix in the cheese. Season lightly withe salt and pepper (to taste), adding the vinegar, if needed, to balance the sweetness of the tomatoes. DO AHEAD: You can make the filling up to two days ahead. Just cover and chill until it's needed.

Combine butter and remaining 1 T of oil. Brush some of the butter on the bottom of a deep 9 or 10 inch pie plate. Center 1 sheet of phyllo in the pie plate, allowing the edges to hang over. Brush the phyllo with a bit of butter. Top with 4 more sheets of phyllo, brushing each with butter before adding the next. (Arrange the sheets so there is excess hanging all around the pie plate instead of in just two places.) Spoon the vegetable and cheese mixture into the pie plate. Fold the edges over, brushing them with a little butter. Layer the remaining 3 sheets of phyllo over the top, brushing each layer with butter and either tucking the edges in the side of the plate or folding them toward the middle.

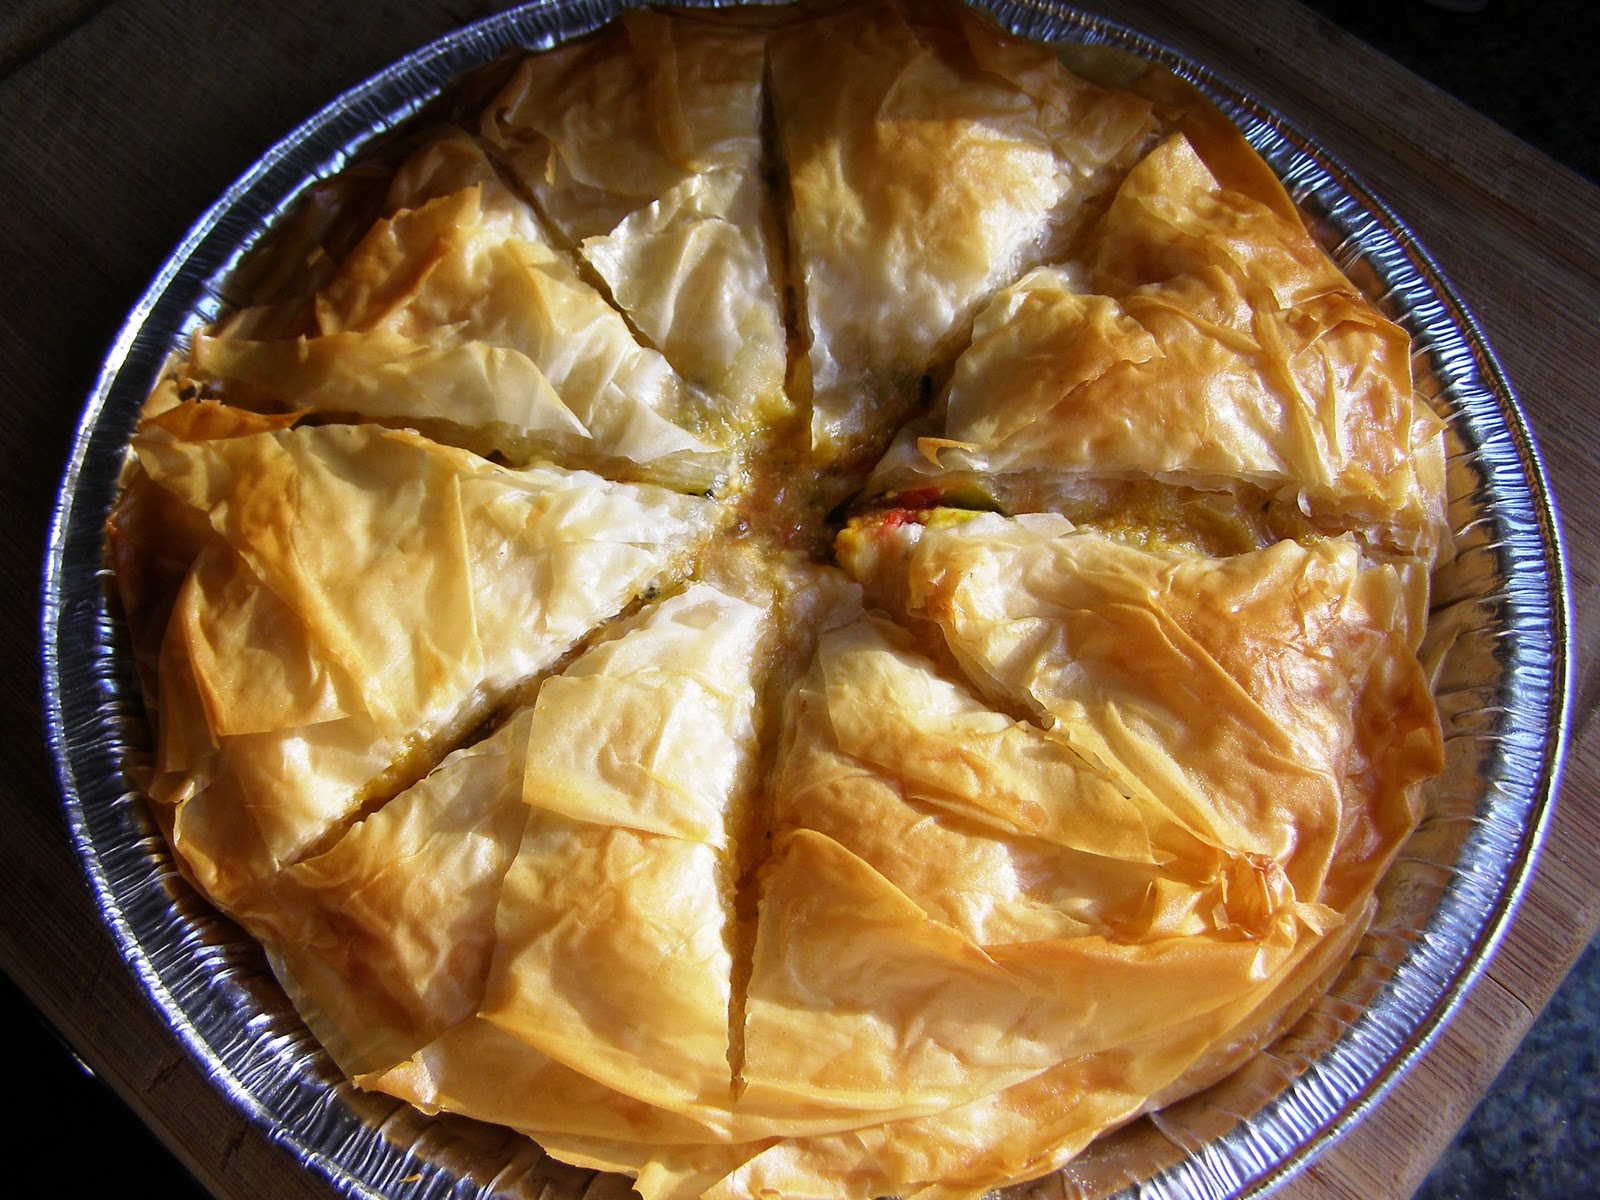
With a sharp, serrated knife, cut the pie into wedges through the top sheets only. Don't cut all the way through the bottom layer. Bake for 30 minutes, until crust is golden brown. (Maybe a few minutes longer if the filling has been refrigerated.)

Let the pie rest for 5-10 minutes before slicing and serving.

Wednesday, November 24, 2010

Amanda's Baked Ziti


It looks like our winter wonderland hopes have been answered...we got snow. Half the city called in for a snow day. You know what I did? Ran outside and snapped a few shots of my ladies exploring the yard. Yes, I am THAT chicken lady. At least I own up to it of my own accord.


It is possible they have seen snow before, but they certainly hadn't played it in until this week.


There is an old wives tale that if the family chickens have an early molt, it means winter will be worse than normal this year.


I promise to keep you informed if I see a trend forming with their feather loss and the snow...


Now, time for some food. In honor of Thanksgiving, I figured I should share a nice hearty alternative to the old traditional turkey supper. In this case, a vegetarian version of my family's baked ziti recipe. My mother used to make a batch of this on cold days when I was a kid. Her version had sausage, ground beef, lots and lots of cheese, etc. Obviously, my version has been tweaked a bit for my vegetarian palate. I prefer to use rice pasta as opposed to normal pasta for wheat/dietary purposes. You can pretty much substitute any veggie, type of pasta, and cheese or sauce into this delicious casserole. Sometimes I make it the more traditional way with ricotta cheese mixed in before I bake it (you can substitute nonfat cottage cheese to save some fat). Play around and make it your own. Enjoy!


Amanda's Baked Ziti
  • 1 16 oz bag of ziti or fusilli rice pasta
  • 1-2 jars of pasta sauce (I used one of garlic tomato & vodka tomato)
  • 1/2 of one 6 oz container of pesto (I used chipotle)
  • 1 package of fake Gimme Lean soy sausage
  • 1 onion, chopped  
  • 2-3 cloves of garlic, minced 
  • 1/2 cup fresh mushrooms, chopped
  • 1/2 cup red bell pepper, chopped
  • 1/4 cup basil, chopped
  • 1/4 cup black olives, sliced 
  • 1-2 bay leaves
  • 1 tsp dried thyme
  • 1 tsp dried oregano 
  • 1 tsp dried basil 
  • Shredded Italian cheese for topping


Bring a large pot of water (2-3 quarts) to a boil. Follow the directions on the pasta packaging and prepare as directed (you can continue doing this throughout the next few steps). I tend to make mine a wee bit on the al dente side, but that is a personal preference. Drain when complete, and set aside.


In a large sauce pan, pour in tomato sauces and half of the pesto container (3 oz). You can add more as your personal taste dictates. Turn the stove burner to low-medium heat. Add sliced black olives, bay leaves, half of the chopped fresh basil, dried thyme, dried oregano, dried basil, and garlic. Bring to a warm temperature (slight bubble) as you complete the following steps.


While you are warming the sauce and boiling the pasta, make the meatballs with the Gimme Lean sausage. You can make larger meatballs by mixing in some bread crumbs and diced onions, or you can go the easy route (like I did) and make simple ones with simply the fake meat. In a large skillet, heat some olive oil on medium and slightly brown the meatballs for a few minutes. Then add the onions and continue to saute until slightly transparent (few minutes). Next add the mushrooms and saute until slightly tender. Finally add the red bell pepper for a minute or two. Remember to mix during the cooking.


Next mix the meatballs and veggies into the tomato sauce. Follow this up with mixing the cooked and drained pasta into the sauce. Two jars of sauce should cover you here. I prefer to have more sauce than less sauce (thus 2 jars), hence I leave it up to you to make it your preference. If it seems a little runny for any reason, just remember some of the moisture will bake out.


Preheat the oven to 400 degrees.  Pour the pasta mixture into a large casserole dish or baking dish. Smooth the top into an even layer. Sprinkle the cheese over the top of the entire dish. Follow up with the remaining half of the chopped basil (I forgot in this instance). Sprinkle additional toppings like red pepper flakes, more dried herbs, salt and pepper, or nutritional yeast (all of which I did). Cover with a lid or foil and bake for approximately 15 minutes. Remove the foil and bake for an additional 10-15 minutes. The top should look golden and crispy, the edges bubbling.

Remove from the oven and let it cool for 10 minutes before serving. Make sure to have some garlic bread handy!

Wednesday, November 10, 2010

Sunchoke Gratin Casserole


Ever seen these things before? Note - the small flowers are actually roses. I am referring to the tall green stalks.When we moved into our current abode, we discovered a patch of jerusalem artichokes...or sunchokes. I think sunchokes sounds much more appealing, don't you? It sounds like the food of the gods or something that will give you superhuman powers by eating it.


Sunchokes are a root vegetable that looks a lot like a potato with a hint of a knobby ginger root. Raw sunchokes are said to have the texture of water chestnuts, though also a bit like a raw radish. When you cook them, they get creamy and smooth. And taste somewhat bland (yet crunchy) when raw, but when roasted they take on a slight sweetness with hints of potato and artichoke heart.


I took it upon myself to head out to the garden and dig a few up. Wow, there are a TON growing in my backyard. In an effort to use them up, I created this recipe off the cuff. I was aiming for a casserole-gratin dish, with little dairy, that would taste amazing. Being my first use of sunchokes, I have to admit I am a bit smitten. Especially since I could dig up what I needed, wash and prep, then cook up a batch in little time. This is a perfect recipe for cold fall days, hearty and filling, yet without the gut bomb of usual gratin dishes. Enjoy!


Sunchoke Gratin Casserole
  •  2 tablespoons unsalted vegan margarine
  • 1 tbsp minced garlic
  • 1/4 cup minced onion
  • 1 tbsp minced shallots 
  • 5-6 large sliced mushrooms
  • 1 teaspoon dried thyme
  • 1 1/2 tablespoons unbleached all-purpose flour
  • 1 1/4 cups warmed soy, nut, or rice milk (I used hazelnut) 
  • 1 bay leaf
  • Braggs to taste
  • Salt, to taste
  • 1 ½-2 cups of sunchokes, roughly peeled and quartered
  • 3  unpeeled Yukon gold potatoes
  • 2 peeled & sliced carrots 
  • 5-6 brussels sprouts cut into quarters 
  • Freshly ground black pepper, to taste
  • 1/4 cup coarse bread crumbs or panko 
  • 1/4 cup parmesan cheese 
  • Chopped parsley for garnish 
Preheat oven to 375. Scrub and roughly peel sunchokes. Thoroughly wash and dry the sunchokes. Cut into fairly even 1/4-inch slices. Cut up the potatoes into similar size. Chop the peeled carrots in to slices. Quarter the brussels sprouts. Toss everything in a large bowl with some salt and pepper. 


Melt the margarine in a frying/saute pan and add the chopped garlic, shallots, and onion. Saute for 3 minutes over medium head or until the veggies start turning slightly transparent. Add the chopped mushrooms and continue to saute for another 3 minutes. Add half of the thyme and Braggs to taste. 


While the veggies are finishing sauteing, warm the milk in the microwave for about a minute or so. In a small dish, pour a little of the warm milk in. Whisk in the flour into the small dish of warm milk until well incorporated (no lumps). Gently milk the flour-milk mixture into the remainder of the warm milk. Once the veggies have sauteed enough, remove the pan from the burner and let it stand for a few minutes. Gently whisk in flour-milk mixture. Presto - you are making bechamel sauce! Return the pan to medium heat and gentle stir for about 1-2 minutes. Add the rest of the thyme and bay leaf, then salt and pepper to taste. Then remove the pan from heat for the final time. Remember to take out the bay leaf before going to the next step! 


Pour the tossed sunchoke-potato-carrot-BS mixture into a 2-qt casserole or equivalent baking pan. Make sure it is one with a lid. Smooth into an even layer in the pan. Once the bechamel sauce has thickened a bit (few minutes of sitting), pour it over the sunchoke-potato-carrot mixture-BS. Lightly sprinkle the panko over the top of the casserole. Next, sprinkle parmaesan cheese on top. Finally, add some chopped parsley for decoration. Salt and pepper to finish things off and place the lid back on the dish. 


Bake for about an hour, or until the dish is bubbling and golden brown on top. Remove from the oven and let cool for a bit before serving (this will let the sauce thicken again). Tastes great when served with steamed spinach!

    Saturday, August 14, 2010

    Is There Anything Else Besides Rafting?


    Currently, my body has informed me that it's a little pissed at me. Does yours ever do this to you? Summer tends to be the time of year where I go for the gold, rushing in as many activities, trips, events, festivals, BBQs, and who knows what else into a few short months. In the span of the last month or so I attended Oregon Country Fair, held the First Annual Umpqua Campout, moved (nearly forgot that one), put in a garden, and rafted both the McKenzie River as a day float and the Rogue River as a 3-day float. The last week alone entailed coming off the river, attempting twice to fly across the country for a feverish consulting gig, and turn right back around to fly home. And for the grand finale - discovering I may have a fairly heady illness which requires more resting and down time than I care for.

    Yes, my eyes are a bit bigger than my ability to do things. ;) You should see my bucket list; it is ginormous! Yet I digress, and should stick to what summers are about for me. Rafting! And of course - cooking.


    Here is a shot of most of the boats (the green edge to the left side is also one of ours). We had a delightful 3-day journey down the Rogue last weekend, complete with 11 folks, 6 boats, and 1 adorable puppy named Ozzy.


    Check out those eyes. Don't you want to play with him? It was his first river trip and he did great!


    This is the Beige Beauty in all her splendor. She took a beating this trip as we found ourselves pinned on a not-so-favorable rock in the midst of Blossom Bar rapids last weekend. Email me if you want a full account of our very exciting ride through... hehehe.

    As is the case with nearly all of our rafting trips, we assign out meals to make things fair for everyone. This trip our group had dinner duty on the second evening of our watery journey. After racking my brain for a fairly inexpensive meal which we could make ahead of time and freeze (we are always running out of ice on our trips), I remembered my old favorite chili recipe.


    This is a recipe I have had for a decade or so, very user-friendly and easy to modify for vegans, allergies, etc. And it hasn't done me wrong yet. For this trip, I made a vegetarian version that was extra spicy for my veggie crew and a larger meat version made with andouille sausage minus the mushrooms. I used the same base chili and then portioned it out for the extended recipes. And of course, I made it too spicy for some tender palated people!


    To accompany the pre-made and by then thawed chili, we served some cornbread made with canned jalapeño chilis and al dente green beans.


    The chili recipe itself is a fairly easy one, hence the loosely written recipe bellow. Mainly, it is the time and construction of spices and flavors that bring about an awesome chili. If you find a modified version of this recipe that works well for you, please feel free to drop a line and share it with me (us). Enjoy!


    Amanda's Vegetarian Chili

    Depending upon the amount you wish to make, vary the ingredients by amount:
    • 1 can black beans
    • 1 can kidney beans
    • 1 can garbonzo beans
    • 1 can fire-roasted and/or garlic canned diced tomatoes 
    • 1 small can green chilis/diced jalapeños
    • 1 small can diced black olives 
    • 1 chopped yellow onion
    • 1 chopped green bell pepper
    • 1 chopped yellow bell pepper
    • 1/2 - 1 cup of corn (frozen or fresh works)
    • 1-2 chopped root veggies, like potatoes or parsnip or sweet potato (vary as you like)
    • 1-3 chopped carrots
    • 1 diced fresh hot pepper, like jalapeño or thai or habañero (depending upon spice liking)
    • Seasonings/Spices - oregano, thyme, basil, cumin, garlic salt, paprika, salt, pepper, hot sauces (again this is personal preference)

    The recipe is very versatile and allows for a wide range of modifications - canned or rehydrated beans, varying vegetables, soy protein or similar, southwestern flavoring vs. cajun/creole flavorings. Mix it up as you like, especially adding seasonal veggies as they are available. You can also swap crushed/diced canned tomatoes for fresh ones or tomato paste + vegetable broth.

    Start by washing the canned vegetables in a strainer. Place the beans in a large pot or soup pan with the other canned ingredients. Add the chopped veggies and spices/seasonings. Stir well. Cook over low to moderate heat for 2-4 hours (a large crockpot also works), continuing to stir ever 15 minutes or as needed. Add additional spices and flavorings as the chili slowly cooks for personal preference. Once the fresh vegetables have cooked and the consistency of the chili thickens, it's time to take it off the stove.

    Serve hot with corn bread, cheese, sour cream, diced cilantro or other topping. Freeze whatever you like for up to a month or so. The spicier the better!