Monday, November 29, 2010

Turkey Day in Seattle


Last weekend entailed the usual tradition for me...fleeing my family and friends to hide in a big city during the craziness of Thanksgiving. This time, we picked Seattle as our destination.


A lovely stay on Capitol Hill at the most adorable B&B for a few nights. It was bliss!


And what makes for a better vacation than food? Lots of good, delicious food.One night we ate at the Byzantion. The spanakopita was pretty tasty as well as the greek coffee.


I made sure to stop in Cake Spy and check out the local cupcake art scene. Am in love with this store.


Also made sure we paid a visit to a good pizzaria. In our case, we were recommended Palemro. While this picture isn't the greatest, the pizza definitely was!!


And of course, a visit to the Science Fiction Museum. Uber sci-fi dorks unite!

Wednesday, November 24, 2010

Amanda's Baked Ziti


It looks like our winter wonderland hopes have been answered...we got snow. Half the city called in for a snow day. You know what I did? Ran outside and snapped a few shots of my ladies exploring the yard. Yes, I am THAT chicken lady. At least I own up to it of my own accord.


It is possible they have seen snow before, but they certainly hadn't played it in until this week.


There is an old wives tale that if the family chickens have an early molt, it means winter will be worse than normal this year.


I promise to keep you informed if I see a trend forming with their feather loss and the snow...


Now, time for some food. In honor of Thanksgiving, I figured I should share a nice hearty alternative to the old traditional turkey supper. In this case, a vegetarian version of my family's baked ziti recipe. My mother used to make a batch of this on cold days when I was a kid. Her version had sausage, ground beef, lots and lots of cheese, etc. Obviously, my version has been tweaked a bit for my vegetarian palate. I prefer to use rice pasta as opposed to normal pasta for wheat/dietary purposes. You can pretty much substitute any veggie, type of pasta, and cheese or sauce into this delicious casserole. Sometimes I make it the more traditional way with ricotta cheese mixed in before I bake it (you can substitute nonfat cottage cheese to save some fat). Play around and make it your own. Enjoy!


Amanda's Baked Ziti
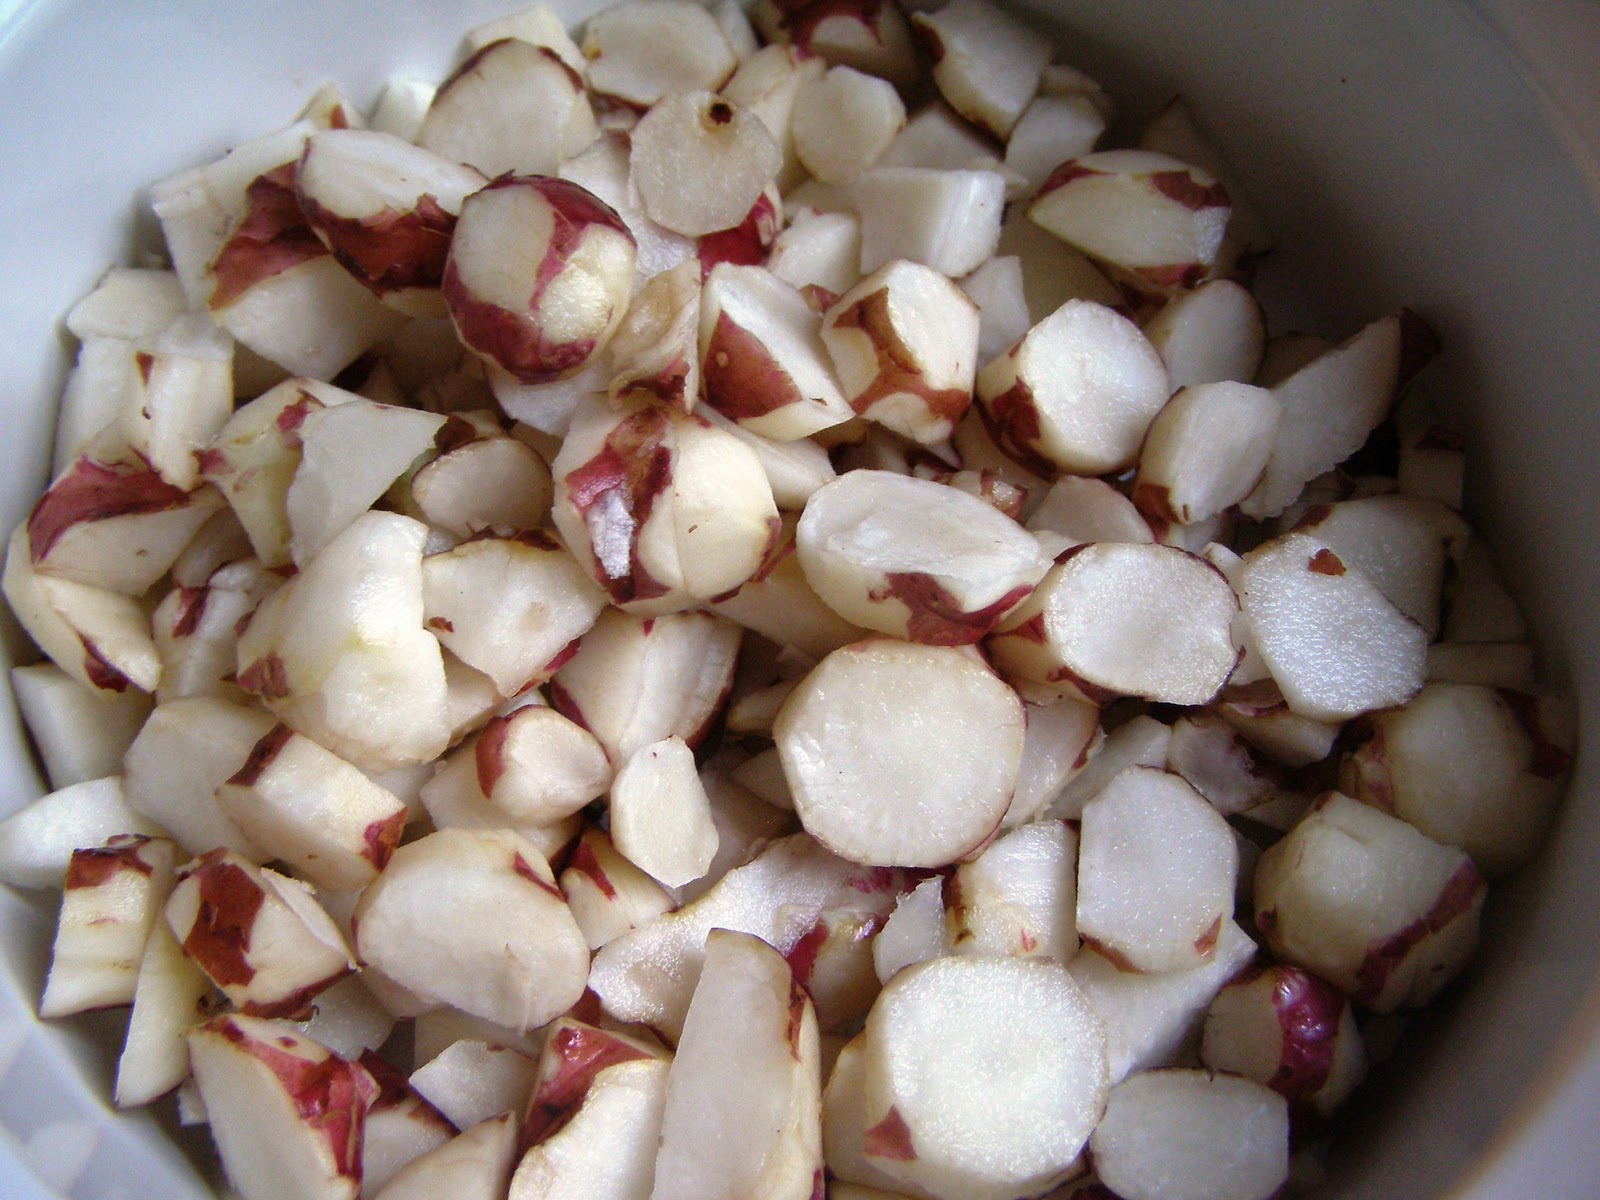
  • 1 16 oz bag of ziti or fusilli rice pasta
  • 1-2 jars of pasta sauce (I used one of garlic tomato & vodka tomato)
  • 1/2 of one 6 oz container of pesto (I used chipotle)
  • 1 package of fake Gimme Lean soy sausage
  • 1 onion, chopped  
  • 2-3 cloves of garlic, minced 
  • 1/2 cup fresh mushrooms, chopped
  • 1/2 cup red bell pepper, chopped
  • 1/4 cup basil, chopped
  • 1/4 cup black olives, sliced 
  • 1-2 bay leaves
  • 1 tsp dried thyme
  • 1 tsp dried oregano 
  • 1 tsp dried basil 
  • Shredded Italian cheese for topping


Bring a large pot of water (2-3 quarts) to a boil. Follow the directions on the pasta packaging and prepare as directed (you can continue doing this throughout the next few steps). I tend to make mine a wee bit on the al dente side, but that is a personal preference. Drain when complete, and set aside.


In a large sauce pan, pour in tomato sauces and half of the pesto container (3 oz). You can add more as your personal taste dictates. Turn the stove burner to low-medium heat. Add sliced black olives, bay leaves, half of the chopped fresh basil, dried thyme, dried oregano, dried basil, and garlic. Bring to a warm temperature (slight bubble) as you complete the following steps.


While you are warming the sauce and boiling the pasta, make the meatballs with the Gimme Lean sausage. You can make larger meatballs by mixing in some bread crumbs and diced onions, or you can go the easy route (like I did) and make simple ones with simply the fake meat. In a large skillet, heat some olive oil on medium and slightly brown the meatballs for a few minutes. Then add the onions and continue to saute until slightly transparent (few minutes). Next add the mushrooms and saute until slightly tender. Finally add the red bell pepper for a minute or two. Remember to mix during the cooking.


Next mix the meatballs and veggies into the tomato sauce. Follow this up with mixing the cooked and drained pasta into the sauce. Two jars of sauce should cover you here. I prefer to have more sauce than less sauce (thus 2 jars), hence I leave it up to you to make it your preference. If it seems a little runny for any reason, just remember some of the moisture will bake out.


Preheat the oven to 400 degrees.  Pour the pasta mixture into a large casserole dish or baking dish. Smooth the top into an even layer. Sprinkle the cheese over the top of the entire dish. Follow up with the remaining half of the chopped basil (I forgot in this instance). Sprinkle additional toppings like red pepper flakes, more dried herbs, salt and pepper, or nutritional yeast (all of which I did). Cover with a lid or foil and bake for approximately 15 minutes. Remove the foil and bake for an additional 10-15 minutes. The top should look golden and crispy, the edges bubbling.

Remove from the oven and let it cool for 10 minutes before serving. Make sure to have some garlic bread handy!

Monday, November 22, 2010

Chinese 5 Spice Pumpkin Bread


Before I get down to baking, give me a moment to rave about a few shows I recently saw. First off, earlier last week while in Chicago I had the chance to see Reel Big Fish play with the Aquabats and Suburban Legends at the House of Blues (or House of Rules as my friends refer to it). Seriously fun! If you don't know of any of these bands, do some homework and check them out. They are all part of the third wave of ska from the last '90s. All of these bands are awesome. Secondly, I had the chance to catch Pretty Lights here in my hometown of Eugene. Best. Show. Of. The. Year. And I go to a lot of them. I danced until my legs no longer felt attached to my body. Describing his sound is a bit hard so I am borrowing from Wikipedia here in saying it's kind of like "glitchy hip-hop beats, buzzing synth lines, and vintage funk and soul samples." Again, go educate yourself on his stuff. You can thank me later. (Sorry, no pics of the Pretty Lights Show...dancing took precedence)


Now, finally down to baking business.


Tis the season for pumpkin, wouldn't you agree? Recently, I had a hankering for pumpkin bread however I wanted to stray from the traditional flavor. After wandering the bulk aisle at my local grocery store...I encountered Chinese 5 Spice. Bingo!

(Total ham shot of me baking...)

Using an old pumpkin bread recipe, I concocted the following recipe. Again, half of the loaf disappeared immediately out of the oven before I could stop myself. So damn good. Enjoy!

Chinese 5 Spice Pumpkin Bread

  • 2 cups sugar (1 brown, 1 white)
  • 1 cup applesauce 
  • 3 eggs 
  • 2/3 cup orange juice 
  • 1 - 14 oz. can of pumpkin puree (about 2 cups)
  • 1 cup chopped nuts (walnuts work great)
  • 3 cups flour 
  • 1 1/2 tsp salt 
  • 2 tsp baking soda
  • 1 tbsp baking powder
  • 1 tsp cinnamon
  • 1 tbsp + 1 tsp Chinese 5 Spice blend 
  • 1/2 tsp allspice

Preheat oven to 350 degrees and grease (2) loaf pans.


Mix the sugars, applesauce, and eggs in a bowl (I used a mixer). Stir in the orange juice, pumpkin, and nuts.


In a separate bowl, sift together the flour, salt, baking soda, baking powder, and all spices. (see how messy I am?)


Add dry ingredients to wet ingredients, in stages, until incorporated.


Pour batter evenly into the prepared loaf pans. Bake for approximately 70 minutes or until a toothpick cleanly comes out of the center of a loaf.


Cool for 10 minutes in the pans. Transfer to a rack to completely cool. I dusted mine with some powdered sugar and cocoa to make the spices stand out (suggested). Slice into pieces and hope you don't eat it all at once.

Sunday, November 14, 2010

Break Time

A quick trip away. 

 A picnic in the park. 

 Some flowers. 

Fall is in the air. 

Christmas is around the corner. 

Amazing skies.

Wednesday, November 10, 2010

Sunchoke Gratin Casserole


Ever seen these things before? Note - the small flowers are actually roses. I am referring to the tall green stalks.When we moved into our current abode, we discovered a patch of jerusalem artichokes...or sunchokes. I think sunchokes sounds much more appealing, don't you? It sounds like the food of the gods or something that will give you superhuman powers by eating it.


Sunchokes are a root vegetable that looks a lot like a potato with a hint of a knobby ginger root. Raw sunchokes are said to have the texture of water chestnuts, though also a bit like a raw radish. When you cook them, they get creamy and smooth. And taste somewhat bland (yet crunchy) when raw, but when roasted they take on a slight sweetness with hints of potato and artichoke heart.


I took it upon myself to head out to the garden and dig a few up. Wow, there are a TON growing in my backyard. In an effort to use them up, I created this recipe off the cuff. I was aiming for a casserole-gratin dish, with little dairy, that would taste amazing. Being my first use of sunchokes, I have to admit I am a bit smitten. Especially since I could dig up what I needed, wash and prep, then cook up a batch in little time. This is a perfect recipe for cold fall days, hearty and filling, yet without the gut bomb of usual gratin dishes. Enjoy!


Sunchoke Gratin Casserole
  •  2 tablespoons unsalted vegan margarine
  • 1 tbsp minced garlic
  • 1/4 cup minced onion
  • 1 tbsp minced shallots 
  • 5-6 large sliced mushrooms
  • 1 teaspoon dried thyme
  • 1 1/2 tablespoons unbleached all-purpose flour
  • 1 1/4 cups warmed soy, nut, or rice milk (I used hazelnut) 
  • 1 bay leaf
  • Braggs to taste
  • Salt, to taste
  • 1 ½-2 cups of sunchokes, roughly peeled and quartered
  • 3  unpeeled Yukon gold potatoes
  • 2 peeled & sliced carrots 
  • 5-6 brussels sprouts cut into quarters 
  • Freshly ground black pepper, to taste
  • 1/4 cup coarse bread crumbs or panko 
  • 1/4 cup parmesan cheese 
  • Chopped parsley for garnish 
Preheat oven to 375. Scrub and roughly peel sunchokes. Thoroughly wash and dry the sunchokes. Cut into fairly even 1/4-inch slices. Cut up the potatoes into similar size. Chop the peeled carrots in to slices. Quarter the brussels sprouts. Toss everything in a large bowl with some salt and pepper. 


Melt the margarine in a frying/saute pan and add the chopped garlic, shallots, and onion. Saute for 3 minutes over medium head or until the veggies start turning slightly transparent. Add the chopped mushrooms and continue to saute for another 3 minutes. Add half of the thyme and Braggs to taste. 


While the veggies are finishing sauteing, warm the milk in the microwave for about a minute or so. In a small dish, pour a little of the warm milk in. Whisk in the flour into the small dish of warm milk until well incorporated (no lumps). Gently milk the flour-milk mixture into the remainder of the warm milk. Once the veggies have sauteed enough, remove the pan from the burner and let it stand for a few minutes. Gently whisk in flour-milk mixture. Presto - you are making bechamel sauce! Return the pan to medium heat and gentle stir for about 1-2 minutes. Add the rest of the thyme and bay leaf, then salt and pepper to taste. Then remove the pan from heat for the final time. Remember to take out the bay leaf before going to the next step! 


Pour the tossed sunchoke-potato-carrot-BS mixture into a 2-qt casserole or equivalent baking pan. Make sure it is one with a lid. Smooth into an even layer in the pan. Once the bechamel sauce has thickened a bit (few minutes of sitting), pour it over the sunchoke-potato-carrot mixture-BS. Lightly sprinkle the panko over the top of the casserole. Next, sprinkle parmaesan cheese on top. Finally, add some chopped parsley for decoration. Salt and pepper to finish things off and place the lid back on the dish. 


Bake for about an hour, or until the dish is bubbling and golden brown on top. Remove from the oven and let cool for a bit before serving (this will let the sauce thicken again). Tastes great when served with steamed spinach!

    Saturday, November 6, 2010

    Ukrainian Honey Cake


    Baking season is officially upon us! The days of me hovering over the stove and oven for warmth have returned. I truly belong someplace warm, preferably with a beach handy.


    Also, it means that it is time for my ladies to begin the fall molting season...i.e. it looks like it is snowing in my backyard from all the feathers. Can you spot the feathered friend who is in full molt? A hint, look for the bald scrawny one.


    Sticking with my theme of Eastern European breads, cakes, and desserts, I tried out a Ukrainian Honey Cake recipe last week. Also known as Medivnyk, this easy cake recipe a flavorful, dense, sweet breakfast style cake. The first day alone, I ate half a cake...needless to say I gave away as much as I could.


    My changes included adding 1/2 teaspoon of nutmeg, 1 teaspoon of almond extract, substituting the sour cream with non-fat vanilla yogurt, and trading in the oil for applesauce. Next time, I may try to incorporate some nuts into it or even a fruit of some type. Enjoy!

    Ukrainian Honey Cake (Medivnyk)
    adapted from Epicurean.com
    • 3 large eggs
    • 3/4 cup sugar
    • 3/4 cup honey
    • 1/3 cup applesauce 
    • 3 tablespoons orange juice
    • 1 1/2 tablespoons yogurt 
    • 1 teaspoon almond extract
    • 1 1/2 teaspoons grated orange rind
    • 2 2/3 cups unsifted all-purpose flour
    • 3/4 teaspoon baking soda 
    • 3/4 teaspoon baking powder
    • 3/4 teaspoon ground cinnamon
    • 1/2 teaspoon nutmeg

    Grease and flour one 12x 3 1/2 inch or two 8 1/2x 4 1/2 inch loaf pans. Heat oven to 325 degrees.


     In large bowl, beat eggs, sugar, honey, apple sauce, orange juice, yogurt, almond extract, and orange rind until combined. In a separate bowl, mix together flour, baking soda, baking powder, nutmeg, and cinnamon. Slowly beat flour mixture into egg mixture just until combined to make batter.


    Spoon batter into greased pan or pans and bake 45 minutes. Reduce oven temperature to 300 degrees and bake 15 -25 minutes longer or until center springs back when touched lightly with fingertip. Cool cakes in pans on wire rack for 10 minutes; remove cakes from pans and cool completely.